Building frontend UI with Claude Code: a workflow that produces a real product look
By Wolfpixel3 min read
To get good frontend UI from Claude Code, give it a design system before the first screen: tokens in the repo, a CLAUDE.md rules file that points to your components, and an MCP server it can query for real components. Then ask for one screen at a time with the user, the decision and the data named, and review each screen against a screenshot before moving on.
Summarize withChatGPTClaudePerplexity
On this page
We are Wolfpixel. Much of our build work now runs through Claude Code. The quality of the UI it writes depends far more on the context it has than on the prompt, so this guide is mostly about setting up context.
The setup (once per project)
- 1Tokens in the repo. CSS variables for colour, radius, type, mapped to Tailwind v4 utilities.
- 2A CLAUDE.md that names the rules: use components from
components/ingot, no hex values, one icon set, every table has empty and loading states. - 3A design-system MCP server so Claude Code can search and fetch components instead of inventing them.
- 4A screenshot loop. Run the dev server and let Claude Code look at what it built (a browser tool or Playwright), so it can see spacing and alignment, not just code.
claude mcp add --transport http ingot-ui https://mcp.ingotui.com/mcp --header "Authorization: Bearer YOUR_API_KEY"Then ask it to run init_project. That writes the tokens, the theme bridge and an INGOT.md rules file; reference it from CLAUDE.md so every new session reads it. Details in MCP for UI components.
Prompting screen by screen
Name the user, the decision, the data shape and the system. One screen per prompt, reviewed before the next.
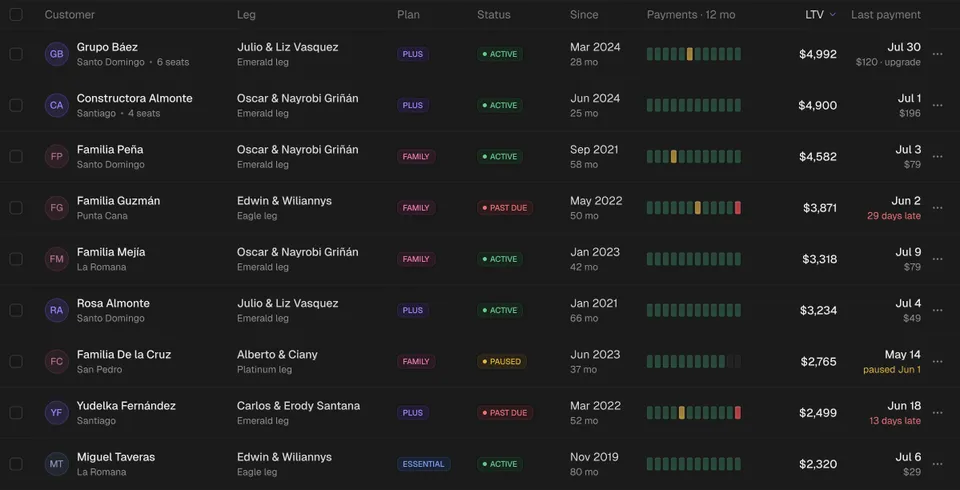
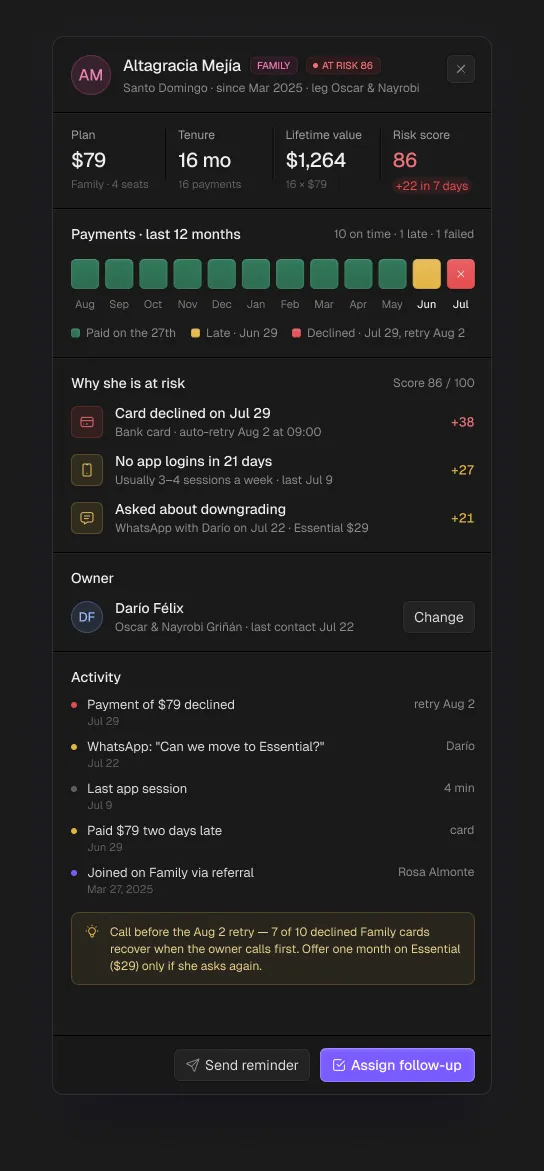
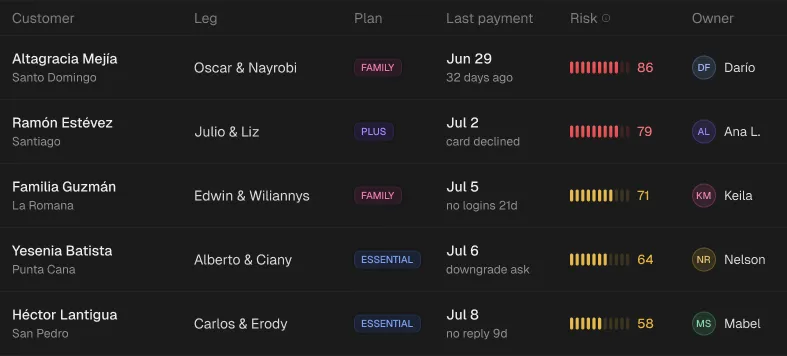
Using the Vantage system, build app/(app)/customers/page.tsx: a KPI strip (MRR, net retention, churn, at-risk accounts) with comparisons vs last month, a customers table with status chips, filters and row actions, and a customer drawer opened from the row. Data comes from lib/data/customers.ts (shape in the file). Include empty, loading and no-results states. Run audit_ui at the end.
Reviewing what it built
- Look at the screenshot first, the code second.
- Check the states by forcing them (empty data, slow network).
- Check that no hex values or one-off spacings crept in (
audit_uidoes this). - Ask for fixes as a list, one message, then re-screenshot.
What Claude Code is great at, and what still needs you
| Great at | Still needs a human |
|---|---|
| Assembling screens from existing components | Deciding what the screen should emphasise |
| Wiring data, states and routing | Information architecture across the product |
| Refactors across many files | Visual judgement on new patterns |
| Following written rules consistently | Writing the rules in the first place |
Frequently asked questions
Can Claude Code build a whole frontend?
It can assemble and wire a full frontend quickly when it has tokens, components and rules to follow. Product decisions and visual judgement on new patterns still need a person.
How do I make Claude Code use my design system?
Keep tokens and components in the repo, describe the rules in CLAUDE.md, and connect a design-system MCP server so it can fetch components.
Does Ingot UI work with Claude Code?
Yes. Connect the MCP server at mcp.ingotui.com with an API key from a free account.
About the author
Wolfpixel is the product design studio that designed the six Ingot UI systems from real dashboard projects, and checks every generated React component against its Figma original before it ships. Read more on wolfpixel.agency.